The First 60 Minutes: Your Numbered Response
Work top to bottom. Do not skip steps.
- Kill the power. Flip the kitchen circuit at the breaker panel. Water plus a 120V appliance is not a risk worth taking.
- Shut the water. Close the dishwasher supply valve under the sink. If it is seized, shut the main.
- Stop the cycle. If the unit is mid wash, cancel and let it drain into the tub, not the floor.
- Pull standing water. Towels, a wet/dry vac, and a squeegee toward a low spot.
- Open the cabinet base. Remove the toe kick panel. This is where hidden water sits.
- Move contents out. Empty the under sink cabinet and adjacent lower cabinets.
- Lift wet rugs and mats. Get them off hardwood or laminate immediately.
- Document everything. Photos and a short video for insurance, before cleanup goes further.
- Call for an assessment. If water reached flooring seams, cabinets, or drywall, get eyes on it within 2 hours.
Common Failure Points to Check
- Door gasket cracked, flattened, or full of debris
- Supply line braid frayed at the 90-degree elbow
- Drain hose clogged with grease or food sludge
- Float switch stuck in the down position
- Pump seal weeping under the tub
- Air gap on the counter overflowing
- Loose hose clamp at the disposal inlet
- Inlet valve solenoid stuck open after a power surge
- Detergent door spring failure causing oversudsing
Two of those, the supply line and the drain hose, cause most of the calls we run. A braided stainless supply line lasts roughly 8 to 10 years. If yours is older, replace it before it fails.
When to Call Eagle Village Water Restoration Instead of DIY
- Water reached more than one room
- Hardwood, laminate, or engineered flooring is involved
- Cabinets are particle board and feel soft
- You smell mustiness within a day
- The leak ran overnight before discovery
- You see staining on a ceiling below the kitchen
- Your insurance carrier wants a certified mitigation report
- The dishwasher sits on a slab and water has nowhere to go but sideways
We arrive in most cases within 2 hours, document for your adjuster, and only recommend tear out when drying in place will not return materials to standard. If the job is small, we say so. Eagle Village Water Restoration has worked enough Eagle Village kitchens to know which floors come back and which ones do not, and we will give you that read on the first visit.
Prevention: A Monthly and Annual Checklist
Most floods we respond to were preventable with five minutes of upkeep.
- Monthly: Wipe the door gasket with a damp cloth and check for cracks
- Monthly: Run a cup of vinegar through an empty cycle to clear grease
- Monthly: Look under the sink for moisture at the supply valve
- Quarterly: Clean the filter at the bottom of the tub
- Quarterly: Inspect the drain hose loop for sagging or kinks
- Quarterly: Confirm the high loop or air gap is still secured above the disposal inlet
- Annually: Test the supply shutoff valve to confirm it still turns
- Annually: Replace the braided supply line if it is past 8 years
- Annually: Check the air gap on the counter for blockage
- Annually: Tighten hose clamps at the pump and disposal connections
Mistakes That Make the Damage Worse
- Running the dishwasher again to "see if it still leaks"
- Pointing a box fan at wet hardwood with no dehumidifier
- Pulling up flooring before photos are taken
- Leaving wet contents inside lower cabinets overnight
- Spraying bleach on a musty cabinet base instead of drying it
- Reinstalling the toe kick panel before moisture readings confirm dry
- Waiting a week to call the insurance carrier
Signs the Damage Is Bigger Than It Looks
- Hardwood planks cupping or crowning near the dishwasher
- Laminate edges swelling or lifting at seams
- A musty smell within 24 to 48 hours
- Cabinet kick plate that is soft, dark, or stained
- Baseboards pulling away from the wall
- Discoloration on the ceiling of the basement directly below
- Warm, damp air pooling under the sink
- Tile grout that looks darker in a band along the dishwasher front
- Outlet covers in the adjacent wall showing moisture stains
Any two of those signs together usually means water has reached the subfloor. Surface drying will not fix it. You can read more about how we trace these patterns in our guide to signs of hidden water damage in your home.
Smart Upgrades Worth the Money
- Stainless braided supply line with a quarter turn ball valve
- A drip tray under the unit, vented to a visible edge
- A point of leak sensor that alarms or shuts the supply
- A whole home leak detection system tied to the main
- A small puck sensor inside the under sink cabinet
- A vinyl or sheet metal cabinet base liner to channel water forward
- An automatic shutoff valve wired to a sensor under the toe kick
A $25 sensor under the dishwasher has saved customers $8,000 floors more than once. If your kitchen sits over a finished basement, that math gets even better. Pair it with awareness of related risks like a refrigerator water line leak, which fails the same way and floods the same floors.
Typical Cost Ranges in Eagle Village
A few details that push a job from one tier to the next:
- Solid hardwood vs. engineered: solid often dries in place, engineered usually does not
- Particle board cabinets vs. plywood: particle board swells and rarely recovers
- Discovery window: under 6 hours often saves the floor, over 24 hours rarely does
- Slab vs. crawlspace vs. basement below: gravity decides how far the water travels
- Insurance deductible: a $2,500 deductible can change which scope makes sense
What Professional Drying Actually Includes
- Moisture mapping with pin and pinless meters
- Thermal imaging behind cabinets and under flooring
- Targeted extraction from the toe kick and subfloor cavity
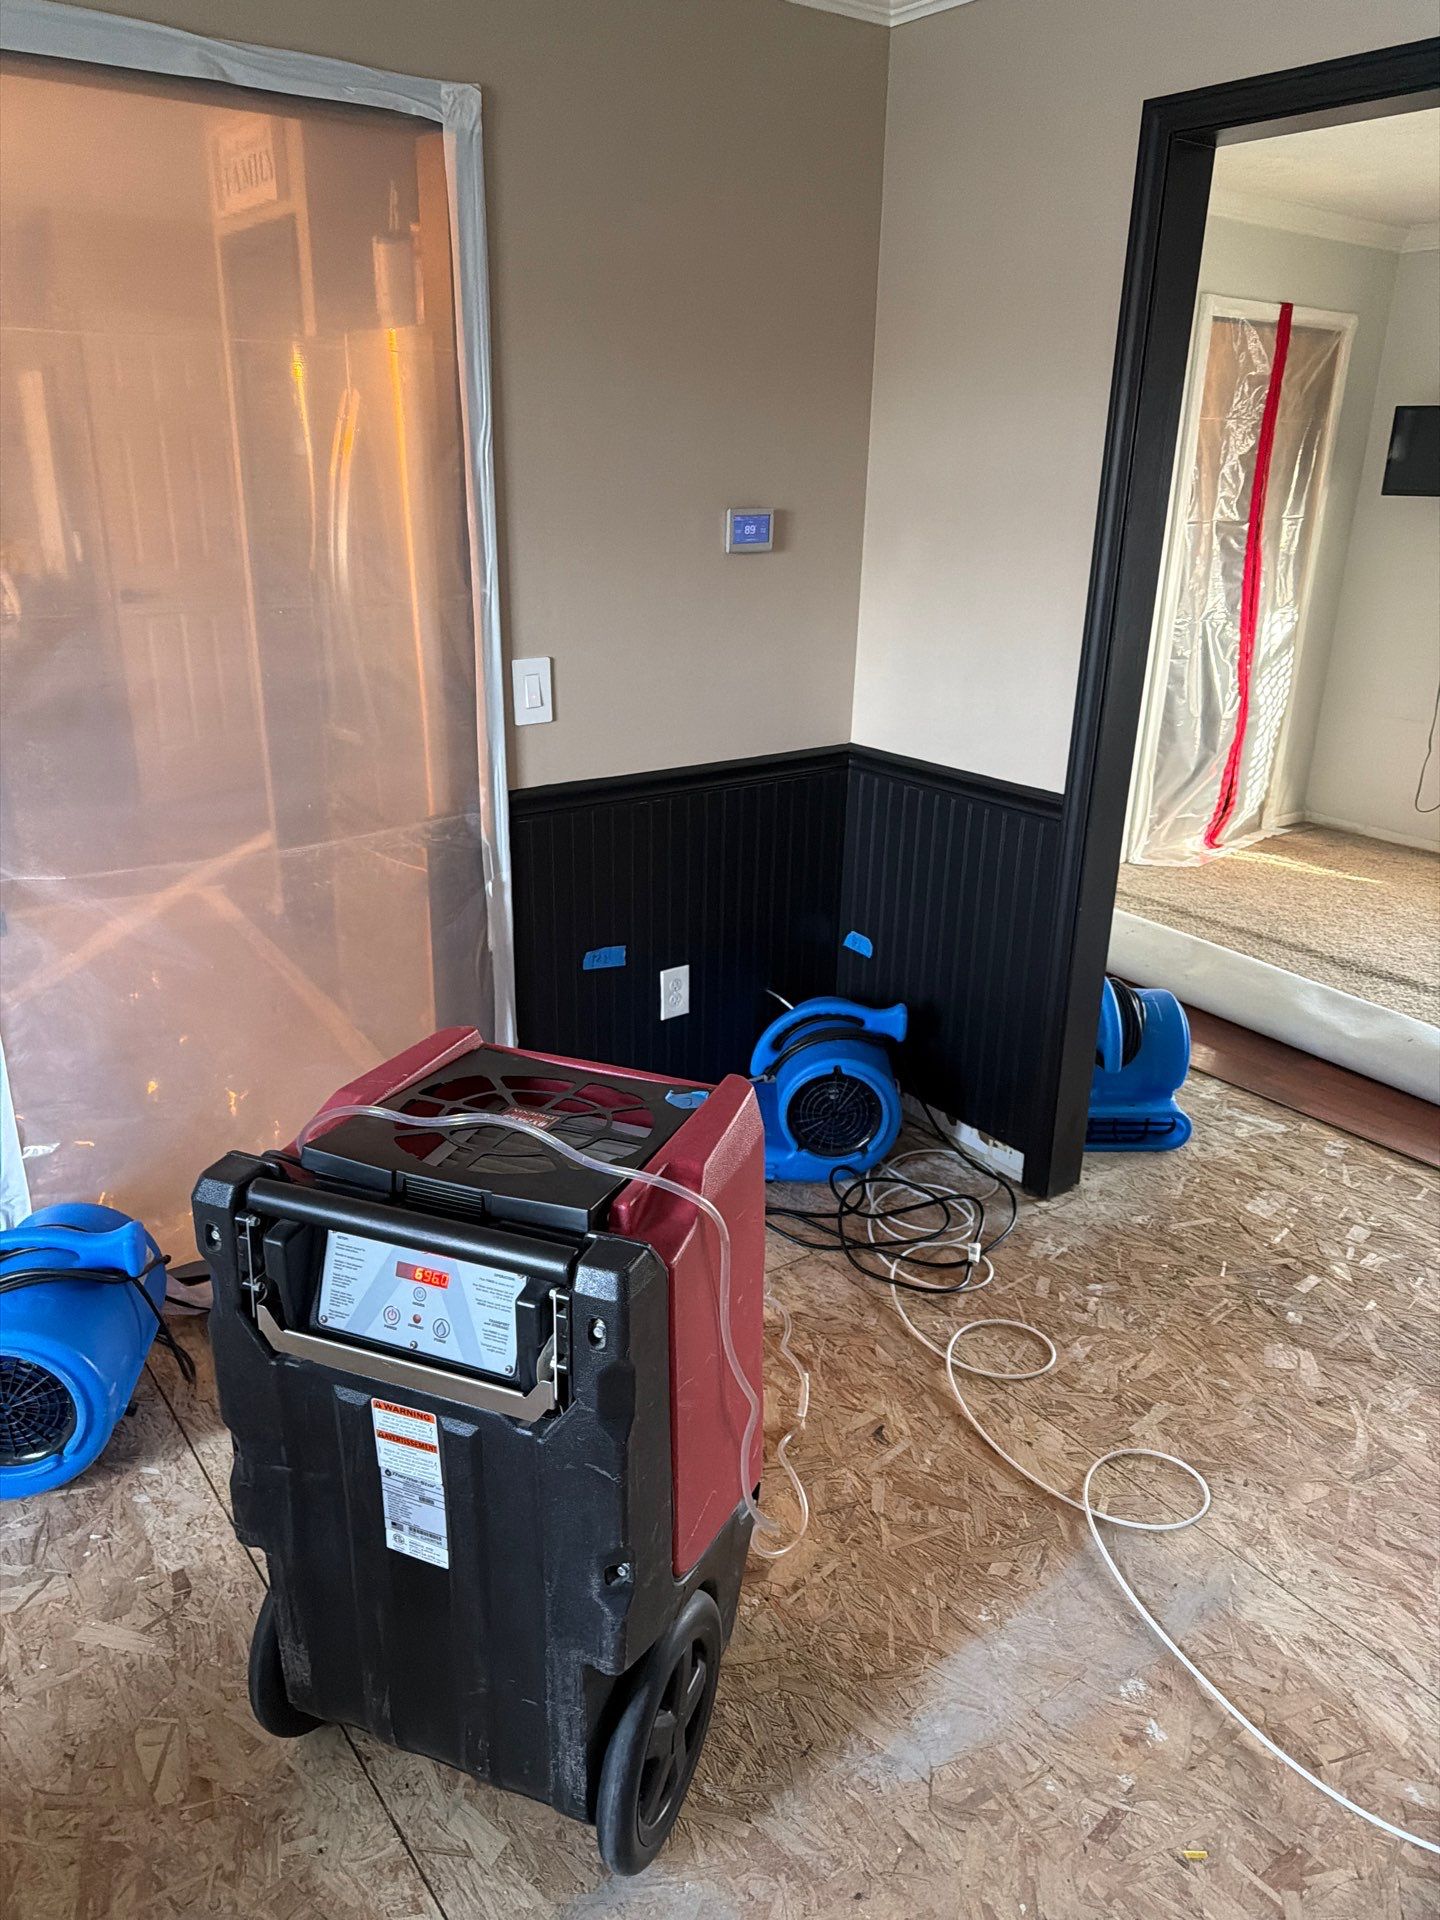
- Air movers staged for cabinet undersides, not just open floor
- low grain refrigerant dehumidifiers sized to the wet square footage
- Daily moisture readings until materials hit dry standard
- Antimicrobial application if drying exceeds 48 hours
- Containment plastic to isolate the kitchen from the rest of the home
- HEPA air scrubbers when drywall or insulation is involved
If you want the full picture of what happens after the floor looks dry, our breakdown of water damage restoration walks through every phase.
What to Tell Your Insurance Adjuster
A clean claim moves faster. Have these ready before the call.
- Date and approximate time the leak was discovered
- Source of the water (supply line, drain hose, door seal, pump)
- Whether the dishwasher was running or idle at the time
- Photos of the affected rooms, cabinets, and any ceilings below
- The make, model, and approximate age of the dishwasher
- Receipts for any emergency mitigation already performed
- The mitigation company name, license, and report if available
Most carriers cover sudden and accidental discharge from a household appliance. Long term seepage is the gray area, which is why fast documentation matters.